Personal Art Blog

Sharing the lessons I teach at the Artist Guild and the personal discoveries in my art.
Showing posts sorted by relevance for query shaper. Sort by date Show all posts

Thursday, May 3, 2012

A Friend Came With Snapdragons


A Friend Came With Snapdragons.

8x6in  oil on canvas panel   100.

Lucky me. I do not remember painting snapdragons before so I really
enjoyed doing them. The colors are beautiful. Thank you, Karen.

Artist Note.

I painted them outside in the sunshine to be able to really see the gorgeous colors.

Yesterday, I said I would show some more techniques using the home-made shaper.

On the snapdragon painting above, I was getting
into trouble so I lifted out the problem areas without
getting into muddy colors caused by over-blending.
I had not used staining colors so it went back to the
white of the canvas,

Patterns can be made by turning the
tool sideways. Handy for fences etc.
This is a staining color so it is great for
all kinds of layering.
The shaper is also handy for lifting out
other types of light areas. See next.


I am using the same bit of canvas so
there are some "lift off" areas at the top. 
On the right I used a staining green
with purple so when lifted off, here and
there, some interesting layers can happen.
I painted the basic shape of a rose at
bottom. Looks messy I know but this is
about the principle involved, and not perfection...
(good job only artists are reading this!)


Zooming in on the rose...
I used the shaper to lift out where I wanted
the light areas of the rose petals to be.
This is where the flexibility beats
out the shapers you buy.


The rose is easy to finish with the paint
already lifted off beforehand to
show where the light pattern goes in
I left the transparent areas in some places
and placed green over the lifted out green area.
This is not a finished painting, only a demo
to show the use of the shaper.


Posted by Picasa

Wednesday, May 2, 2012

Fracturing the Floribundas and Great Tip


Fracturing the Floribubundas.

The beautiful roses are starting to wilt so now is a good time to try
to learn more about fracturing them. So many small petals are impossible to do.
Capturing the colors and overall shape is more what I am after.

Artist Note.

Yesterday, in my blog's comments, Lisa asked how I prevented getting MUD.
It is a common problem all oil painters have to solve so I told her how I worked.
See my reply...also on yesterdays comments.
Below illustrates what helps me the most.

This Great Tip is about a little gadget I make for everyone I teach.
It is really cheap and works better than
the more expensive art shaper.
The purpose is to be able to lift off the paint cleanly.
It is also much more flexible than the one you buy.

Here is a step by step.

I get a razor blade scraper/holder
from Harbor Freight or hardware store
They are $1.99
Make sure they have the
screw at the top as shown.
Next to it is a piece of squeegee
rubber.

I cut the rubber
to the size of the blade.


Unscrew and trim rubber if needed.
The piece of rubber I used had a
ridge which I removed


Here is the completed, small squeegee.


How to use it?

Say your paint is too heavy
or you want a lighter
transparent shade


Just glide your shaper
as you would a squeegee
and lift cleanly off.
If you wish to return to the
white of the canvas then use
Gamsol or your preferred turps.


I use a 6inch squeegee for my large paintings, but this is marvelous for small ones.
On tomorrow's blog I will show some neat techniques you can do with it in
either oil or acrylic.

Hope you found this helpful, Lisa!


Posted by Picasa

Sunday, February 19, 2017

Pouncer ll - Fracturing Demo


Pouncer ll. Bird Watching
8x8in oil on Senso

Fracturing Technique - Step by Step.


Artist Note.

This is a re-post.
Some of you may not have seen it.
Swamped at the moment but hope
to paint tomorrow.

I have had so many requests for information on the fracturing technique
that I thought I would show some of the steps and tools I use.
I am using the natural linen SENSO. I buy it in pads which I tape
to foam core board. When it is dry I use YES paste
to glue it to a Masonite panel
Ampersand makes  boards in 6x8 in size.


 I drew this out with a mixture of
Ultramarine and Permanent Alizarin
using a script brush.
 Next, I placed quick brush marks
of bright, local color.
I made sure to go over the neighboring
edges in some places but not all.
Next, I used my handy tool to swish
 through some edges.
This part is where you allow your
own personal taste to guide you.

I hold the shaper at an angle and
VERY LIGHTLY  skim it over paint
to remove and randomly
break up areas .
Then I go back and reinstate.
Sometimes I fracture one layer
and others several times.
It all depends on how broken up
I want the image to be.

    This is a short handled, ANGLE brush.
    It is a marvelous brush for these
    small paintings.
    Using the edge, a straight line is easily
    made and I use the side to make
    multiple, different type marks.


 I make what I call "opposing strokes."
Shown here.
Make a stroke and then brush in the
opposite direction... and then again.
If you get into the habit of doing
this it will
prevent over blending and
keep your paint surface active.


MY SHAPER TOOL
If you click on the above it will
take you to DPW tutorial page where
I have a FREEBIE one for the tools I use
I also have a little video showing
 how I paint using the
fracturing technique.
(be sure to scroll down)
In the last two years, Catalyst has
come out with a whole line of shapers
so there is no need to make one.

I used a #2 round brush to do
the small areas to finishing up.
I check my center of interest
- the cats head- to make sure it
has not been fractured as much
as the other areas.


I hope that by showing my methods
and tools it will inspire some
of you to try some new method just for fun.
Let me know how it goes.

Posted by Picasa

Sunday, May 6, 2012

First Onion Painting


First Onion Painting

14x11in  oil on canvas panel

I thought it would be interesting for you to see the first onion
painting I did for the Fruit and Vegetable show, but never entered.
Compared to yesterday's image it looks very ordinary.
The question is...if I had entered this one
would I have won the Peoples Choice Award?

Artist Note.

I appreciate everyone who sent an email asking about the shaper
I showed. I am replying to all of you as fast as I can.

Posted by Picasa

Thursday, May 30, 2013

Oleanders From Betty


Oleanders From Betty

8x6in  oil on linen $125. SOLD

My friend and fellow artist, Betty Hummer, has these wonderful Oleanders
growing in her back yard and when I went by this morning
she told me to pick some. The purple is a weed which drives her
batty because she cannot get rid of it, but I love the color so included some.
Betty is in her 80's, widowed, battling cancer of spine and lung and by the time
I got there before coming into work, had already washed her floors
the old fashioned way on hands and knees,
and had a bucket full of weeds she had pulled by the door.
She puts most of us to shame with her strong work ethic.
She is an inspiration and I admire her so much.
She is the friend who persuaded me to start teaching.

Artist Note.
The fabulous artist Qiang Huang has endorsed the use of something
similar to what I call my handy tool. I am thrilled.
He is trying the one you can buy. (shaper)
Read what he says about using it
It may make more sense than how I say it.


Posted by Picasa

Saturday, May 5, 2012

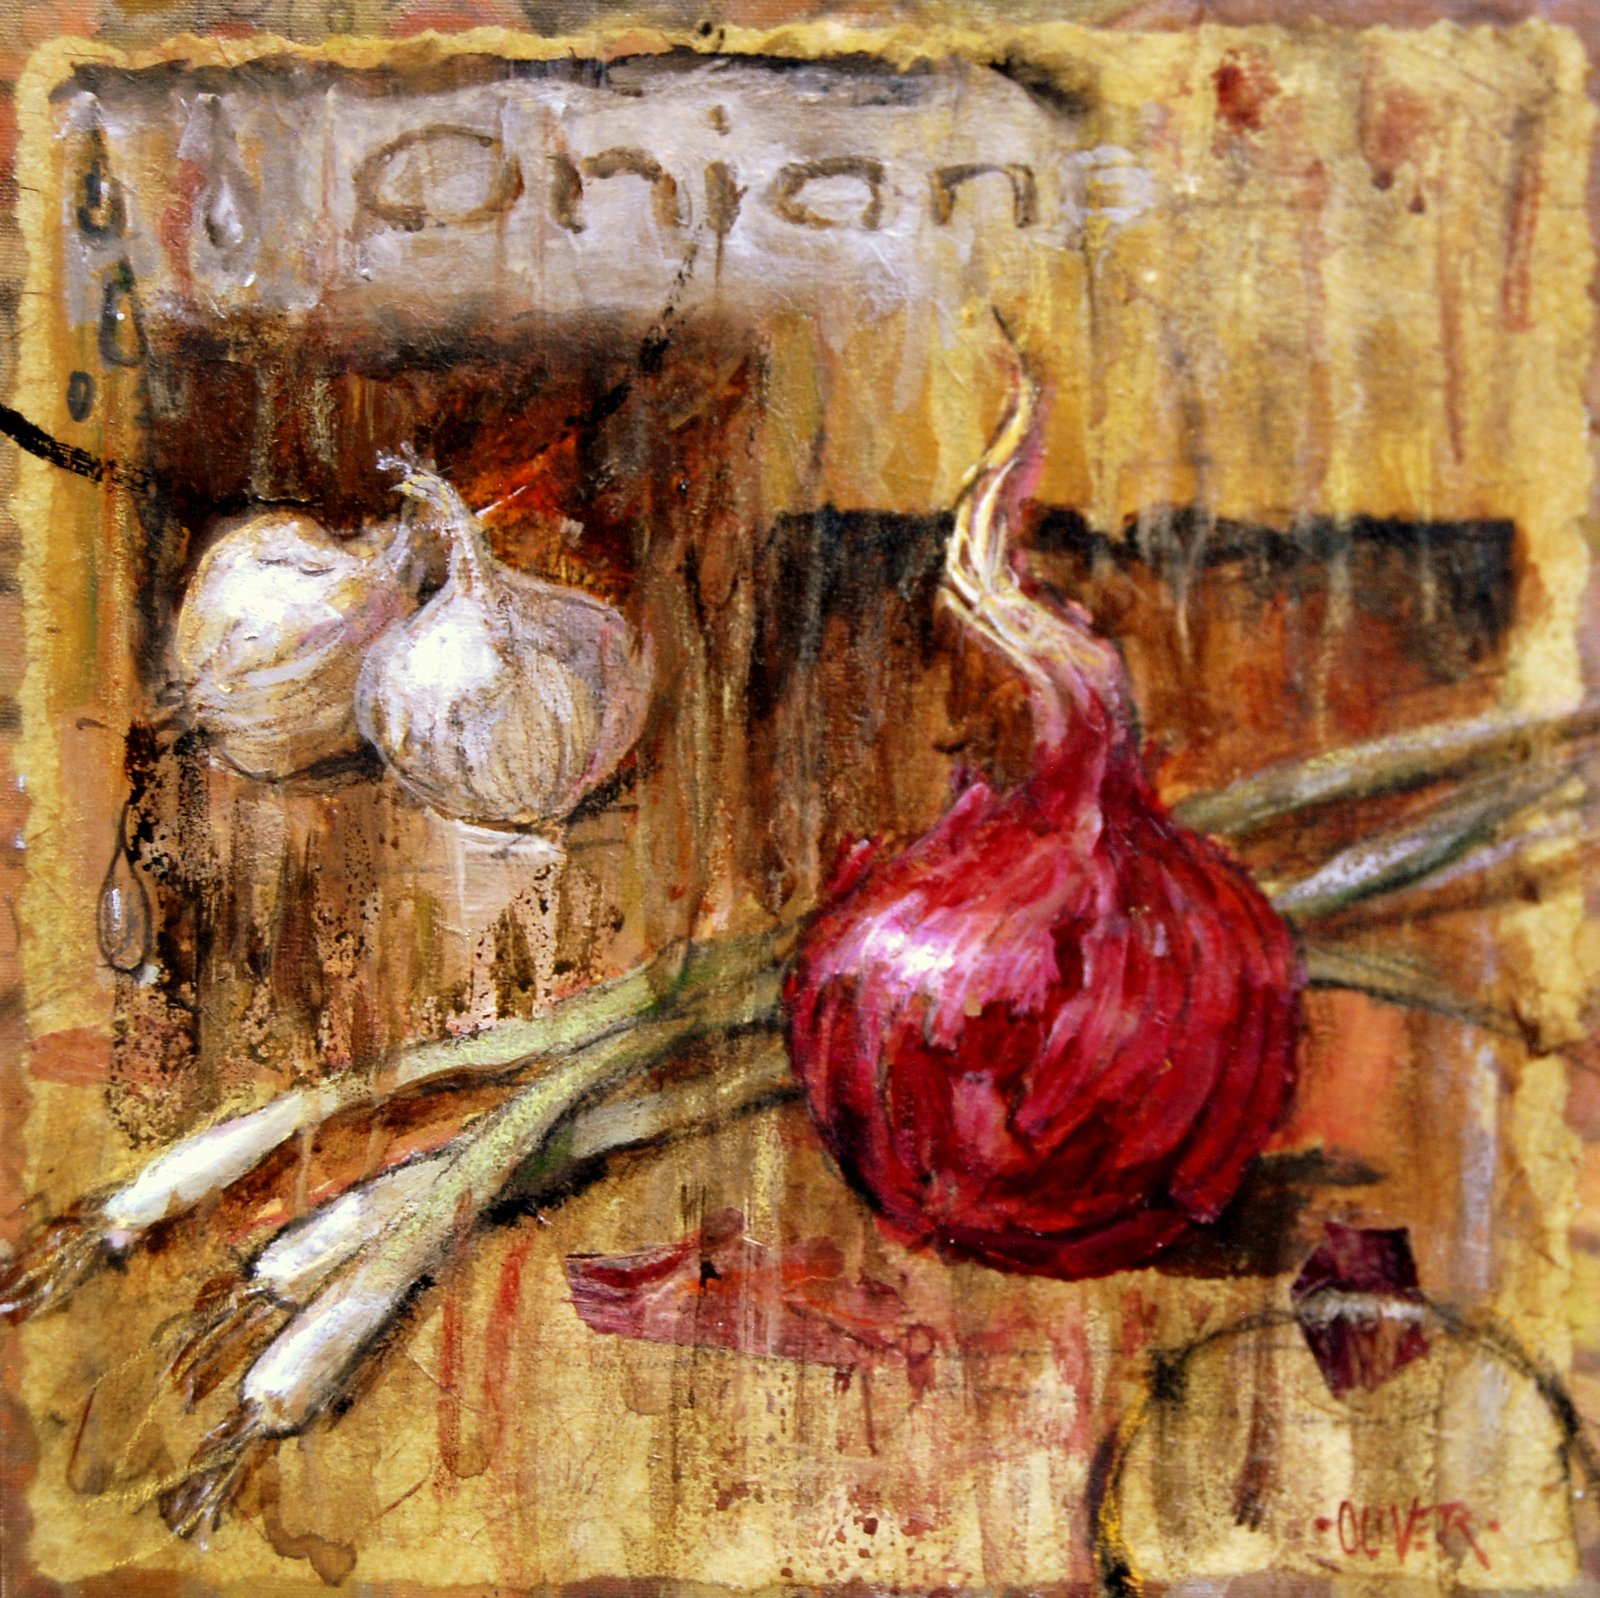
Peoples Choice Award - O is for Onion


O is for Onion

12x12  mixed media  

I was in an Invitational Fruit and Vegetable show recently and was
amazed to find out I won the Peoples Choice Award.
The top artists in the area were participating and most of
them have very contemporary attitudes in their work, so
I thought if I wanted my work to fit in, I would allow myself to go a little
crazy with my piece.
Imagine my surprise when I arrived at the show to find
nearly all the painted works were hard edged and beautifully realistic.
All of it was very, very good.
One of the reasons I was amazed to win.


Artist Note.

I used acrylic paint and glued down a couple of actual pieces
of onion skin. I used the handy shaper I demoed in yesterday's
blog to create some dispersion of pigment into gel medium
and splattered and smudged, having a lot of fun. I threw in a
few tears and decided it was done.
Not my typical work but it is good to let go now and again.
Posted by Picasa

Monday, May 20, 2013

Avian Architecture - Demo at Gallery


Mockingbird Nest with Five Eggs

11x14 oil on canvas panel  $650.. (unframed) SOLD

This is one of my favorite nests. I love the long twigs mixed in with
the inner lining of fine grasses and other bits of fillers from the earth.

Artist Note.
I did this demonstration piece at the gallery last Saturday. I finished it today.
I am always nervous doing a demo, but I had a group of supportive artists
mixed in with the crowd and I settled down pretty quickly.
The images are blurry for which I apologize.
.
I started with broad washes of Transparent Oxide Brown, Red and Yellow.
Following up with some  Ultramarine Blue

Below you can see where I start to form the shape of the nest by
lifting off areas and placing some opaque light shapes using opposing strokes
with a half inch angle brush. I am careful to keep my really dark areas
transparent, and finally placing the eggs in the general area I want them.


BRUSHWORK
When painting something with as many twigs as this I use a
long script or liner brush. Different marks can be made
with the different positions shown below.


Holding the brush at the end and more parallel to the canvas.
I can go right to left as well as left to right, with short strokes.
The brush fans out a bit and creates a slightly uneven line
which is perfect for what I want. Next one is for a thick or thin mark.

Holding the brush lightly at the very end of the handle
I can do fast downward curves as well as straight lines.
I use the tip to middle of brush at first ( lightly) then add  more
pressure to thicken the mark. This prevents the too perfect line

This is the control position. Holding the brush closer the front
I can do the calligraphy I want. I have my paint soupy,
but not runny.


Fortunately this image is a bit clearer. I have lifted out the
white lines with a pointed shaper and the twigs are in
different grays and darks. Below shows texture in the
background done with some Fracturing with handy tool and knife.
I am painting the eggs so am holding the brush in the control position.


Nest is gradually
building up and
look-see...the beauty of a real nest!


Posted by Picasa


Wednesday, February 22, 2012

Pansy Time #9


Pansy Time #9

8x6in  oil on canvas   100.

Pass the sunglasses please!

This is purely a decorative piece and I enjoyed myself immensely playing around with pattern and color.
It was  purposely different to any of the other the other pansy paintings.
I was inspired to do it by my Picasso Rose piece from November 28th, of last year, (below) but not to be quite so Picasso(y).

Artist Note:

Fun, fun, fun.
I started by drawing with an acid free ink, felt tip pen.
I filled in all the big shapes with flat areas of color.
I used a pointed shaper to lift off some of the patterns
where I had deliberately painted a different color underneath
for this purpose.
I used a rigger (script liner) brush to do the line-work.


Posted by Picasa

Tuesday, February 5, 2013

My Video Demo has been Released!


Three Pears

6x8in oil on canvas board. Not for Sale


This is the image I painted on my video demonstration
for  Daily Paintworks  Artbyte tutorial. (Click for link.)
I painted it in "actual time" and it is about 25 mins long.
I want to thank Daily Paintworks for asking me to make
this Artbyte. Although nervous, I was honored to be asked.
I also thank Jennifer Newcomb Marine for her infinite patience.

There is also a free artbyte explaining the tools I use with
a short demo showing how I assemble my handy-dandy
shaper/squeegee tool. Be sure you look for it.

I hope that any of you who are interested in my technique
will find the video interesting and enjoyable.
The video is on the technique itself. I recommend it be used
with a palette the artist is comfortable with. Trying new colors
at the same time can add to the difficulty factor.

When I was thinking about what to paint for the video
I decided to paint something I had done before in my older style
See below


I always liked this one.
One of the great things about "taste" is there will be as
many people who like this version as there will be who
like the fracturing. My personal opinion is that the eye
is engaged more with the fracturing technique...as is my heart!


Posted by Picasa

Friday, July 20, 2012

Fracturing from the Imagination ll -Demo


Flowers from the Imagination

6x8in  oil on canvas panel  $125.

After scrutinizing fruit for the last few days I needed to do something for the
pure pleasure of using paint.
I am receiving more and more inquiries about the
fracturing technique and this is another way of starting than the one I showed here
http://juliefordoliver.blogspot.com/2012_05_01_archive.html


Artist Note.

Painting from the imagination is a lot of fun and you can make alterations
all the way through because you respond to what happens.
I started with flat shapes of color on oil primed linen.
I picked up what was on the palette
from yesterday's painting of fruit.
Using a knife I pressed and twisted
until the random shapes suggested
something to me. The green next to the
orange suggested the center of a flower.


Still not committed, but working with
flowers in mind, I started to add
more colors remembering to
neutralize some with
complementary colors
so the pure colors would pop.


Okay - I could really see the flowers
now so the commitment was made
and the thinking had to begin.
The negative shapes at the left I
liked so I kept them and added color.
Filling in the backgroundwith transparent dark colors
to bring it together. I do not usually
paint this way and I was enjoying
responding and making decisions to what was happening.
After this stage, I worked all over with my angle brush and
handy tool, but a shaper will do. It is easy to see the surface marks I made
on the finished piece. I decided to take the vase right out at the bottom.

Please let me know if you enjoyed this or have any questions.


Posted by Picasa