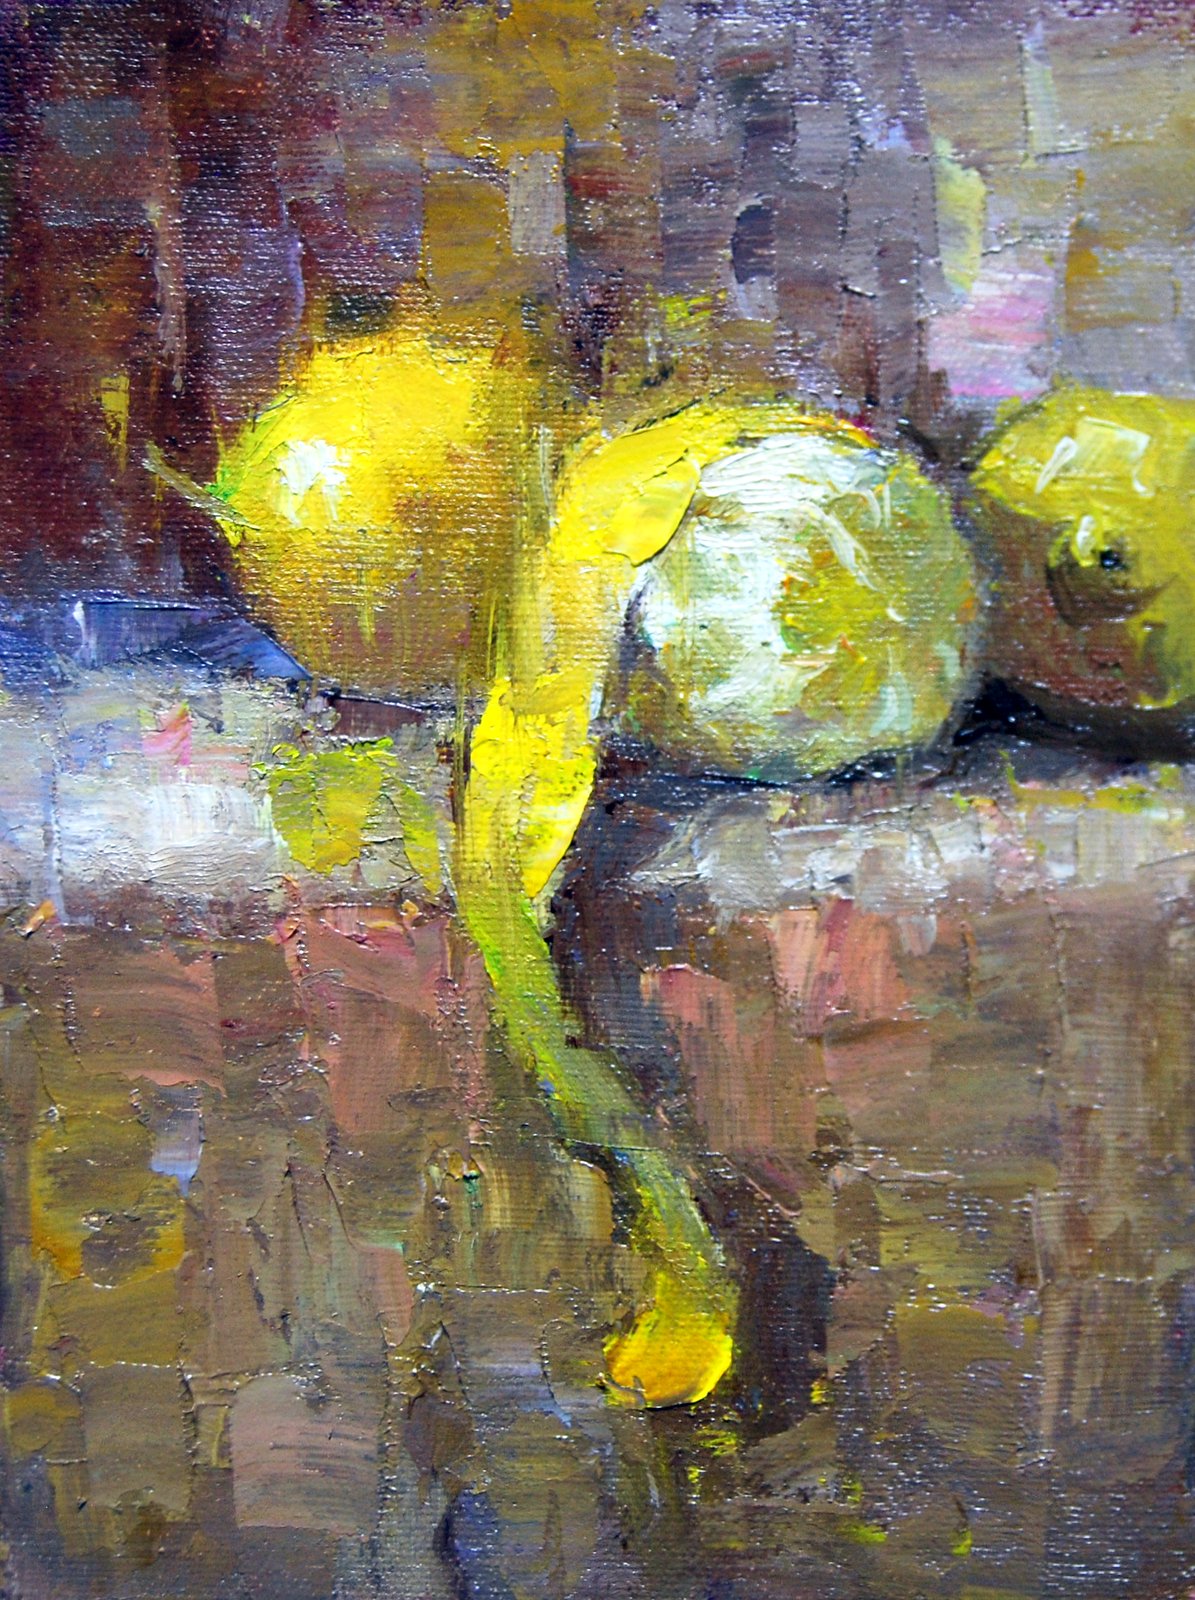
Lemon Peel
8x6in oil on canvas panel 100.
One of my sons who lives in another state
surprised me today with a visit (for Mothers Day)
and I naturally want to spend
time with him. So this is a fast one!
.

 I am a painter living in Las Cruces, NM. After many years as an illustrator I turned to fine art to develop my own artistic voice. I currently teach talented and enthusiastic artists in oil, acrylic and egg tempera painting. I am also a member of the Artist Guild of Southern New Mexico.
 I am a painter living in Las Cruces, NM. After many years as an illustrator I turned to fine art to develop my own artistic voice. I currently teach talented and enthusiastic artists in oil, acrylic and egg tempera painting. I am also a member of the Artist Guild of Southern New Mexico.

 I am a painter living in Las Cruces, NM. After many years as an illustrator I turned to fine art to develop my own artistic voice. I currently teach talented and enthusiastic artists in oil, acrylic and egg tempera painting. I am also a member of the Artist Guild of Southern New Mexico.
 I am a painter living in Las Cruces, NM. After many years as an illustrator I turned to fine art to develop my own artistic voice. I currently teach talented and enthusiastic artists in oil, acrylic and egg tempera painting. I am also a member of the Artist Guild of Southern New Mexico.
 I am a painter living in Las Cruces, NM. After many years as an illustrator I turned to fine art to develop my own artistic voice. I currently teach talented and enthusiastic artists in oil, acrylic and egg tempera painting. I am also a member of the Artist Guild of Southern New Mexico.
 I am a painter living in Las Cruces, NM. After many years as an illustrator I turned to fine art to develop my own artistic voice. I currently teach talented and enthusiastic artists in oil, acrylic and egg tempera painting. I am also a member of the Artist Guild of Southern New Mexico.
 I am a painter living in Las Cruces, NM. After many years as an illustrator I turned to fine art to develop my own artistic voice. I currently teach talented and enthusiastic artists in oil, acrylic and egg tempera painting. I am also a member of the Artist Guild of Southern New Mexico.


 I am a painter living in Las Cruces, NM. After many years as an illustrator I turned to fine art to develop my own artistic voice. I currently teach talented and enthusiastic artists in oil, acrylic and egg tempera painting. I am also a member of the Artist Guild of Southern New Mexico.


 I am a painter living in Las Cruces, NM. After many years as an illustrator I turned to fine art to develop my own artistic voice. I currently teach talented and enthusiastic artists in oil, acrylic and egg tempera painting. I am also a member of the Artist Guild of Southern New Mexico.

 I am a painter living in Las Cruces, NM. After many years as an illustrator I turned to fine art to develop my own artistic voice. I currently teach talented and enthusiastic artists in oil, acrylic and egg tempera painting. I am also a member of the Artist Guild of Southern New Mexico.

